Repotting Without Stressing the Plant: The Step-by-Step Method
Learn when and how to repot a houseplant: signs it needs a new pot, what size to choose, the step-by-step, and the aftercare to help it bounce back.
In this article
Repotting feels scarier than it is. I get it — you have spent months keeping this plant alive, and now someone wants you to yank it out of its home and mess with the one part you cannot usually see. But here is the truth I wish I had learned before I killed a perfectly good pothos by leaving it strangled in a too-small nursery pot: done right and at the right time, repotting rejuvenates a plant. It gives the roots room to breathe, refreshes the nutrients in the soil, and resets the drainage that slowly degrades over a year or two. This guide walks you through every step — when to do it, what pot to pick, how to move the plant without tearing the roots, and the aftercare that makes the difference between a plant that sulks for a week and one that never recovers.
Signs your plant needs repotting
Plants are not shy about asking for a bigger pot — you just have to know the signals. Look for these:
- Roots poking out of the drainage holes, or a mat of roots surfacing on top of the soil.
- The plant is root-bound: water runs straight through and out the bottom in seconds because the pot is more root than soil.
- The plant looks top-heavy and tips over, or has visibly outgrown its container.
- Stalled growth despite good light, water, and feeding through the growing season.
- The soil dries out within a day or two of watering, when it used to hold moisture for several days.
- It has simply been in the same pot for over 1 to 2 years and the soil has compacted or started to break down.
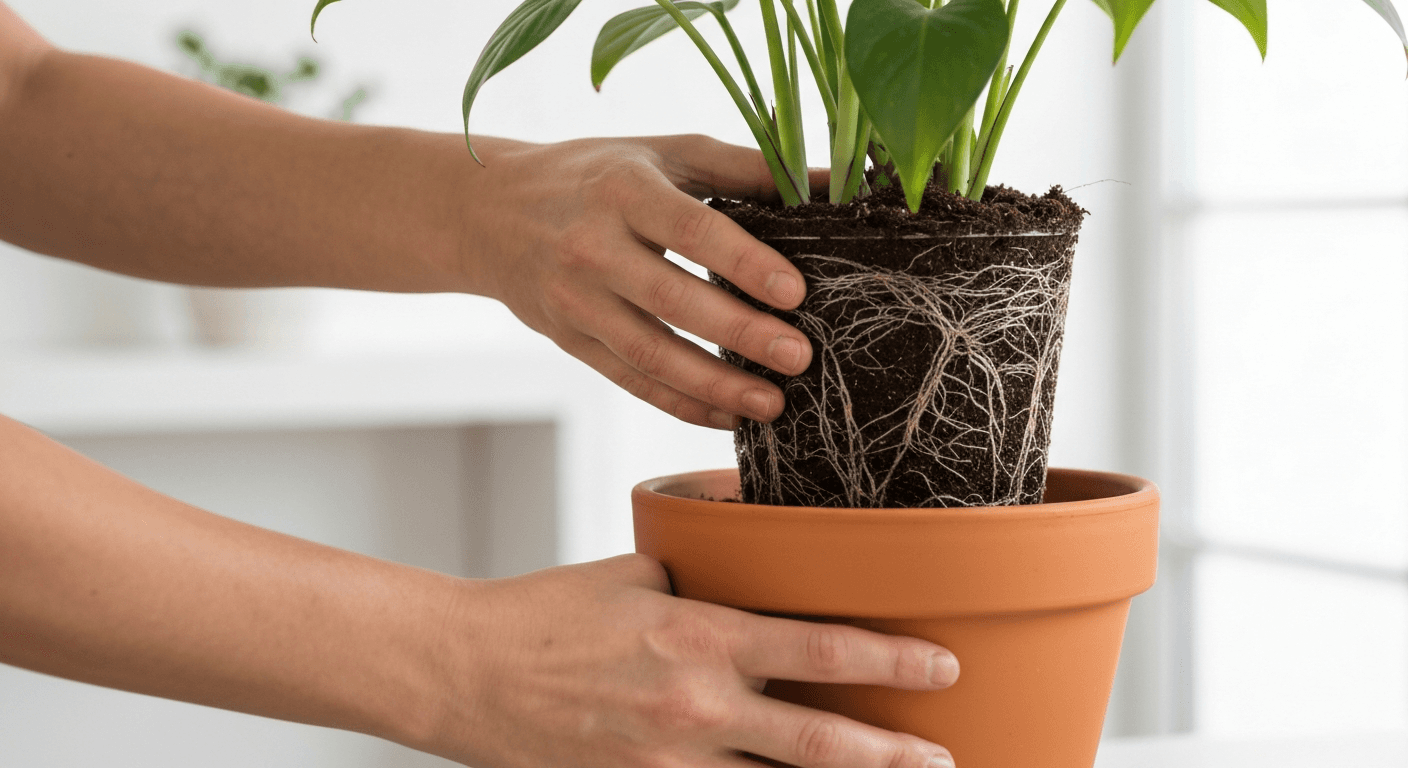
A quick test: slide the plant out and look at the root ball. If you see a dense, circling web of roots that holds the entire shape of the pot with very little soil visible, it is time. If you still see plenty of soil and roots that look loose and exploring, put it back — there is no prize for repotting early.
Root-bound is not always urgent
Some plants actively prefer being a little snug — peace lilies, spider plants, many succulents, and most flowering plants bloom better when slightly pot-bound, because a cramped root system pushes the plant toward flowering rather than leafy growth. So "root-bound" alone is not an emergency. Repot when the plant's growth or health is suffering, not just because the roots are busy.
Is your plant looking off and you are not sure why?
Free AI diagnosisWhen to repot (and when to leave it alone)
The best window is spring through early summer, while the plant is in active growth. A plant that is actively pushing new roots and leaves recovers from the disturbance in days rather than weeks. Repotting in this window also gives the plant the whole growing season to settle into its new space before the slower, cooler months. If you keep a seasonal plant-care calendar, this is the chore to pencil in for the first warm stretch.
Avoid repotting while a plant is flowering — you risk dropped buds and a sulking plant. Wait until the bloom finishes. Also avoid the deep-dormancy of midwinter for most houseplants; growth has slowed, so recovery is sluggish and the risk of rot in cold, damp soil is higher.
The one exception that overrides all of the above: rot or pests in the soil. If you suspect root rot — black or mushy roots, a sour smell, persistent wilting in wet soil — repot immediately, regardless of season. A plant drowning in collapsing soil will not survive being polite about timing.
What pot to choose
This is where most repotting goes wrong before it even begins, so get it right.
- Go up only 1 to 2 inches in diameter from the current pot (about 2 to 5 cm). For a small plant in a 4-inch pot, that means a 5 or 6-inch pot — no more.
- Drainage holes are non-negotiable. A pot without holes traps water at the bottom where roots cannot reach the air, and that standing water is the single most common cause of houseplant death.
- Match the material to your habits. Terracotta is porous and wicks moisture away, which is forgiving if you tend to overwater. Glazed ceramic and plastic hold moisture longer, which suits thirsty plants and forgetful waterers.
The temptation to "give it room to grow" by jumping to a giant pot is the mistake I see most often. A pot that is too big holds a huge volume of wet soil that the small root system cannot drink fast enough. That soggy reservoir stays wet for days, the roots sit in it, and you get rot. Small steps, every time. If you want the full breakdown of materials, sizes, and shapes, I wrote a dedicated guide to choosing the right pot.
| Pot size jump | Result |
|---|---|
| Same size (refresh soil only) | Good for plants that like being snug; root-prune slightly |
| 1 to 2 inches larger | The sweet spot — room to grow without waterlogging |
| 3+ inches larger | Risk: soil stays wet too long, roots rot |
| No drainage hole | Avoid — water pools at the bottom and roots suffocate |
What soil to use
Do not reuse the old, compacted soil, and skip generic garden dirt — it compacts in containers and smothers roots. Use a fresh, well-draining potting mix suited to your plant. Most houseplants are happy in a general indoor mix; succulents and cacti want a grittier, fast-draining blend with added perlite, pumice, or coarse sand. If you are unsure what your plant prefers, my guide to potting soil and mixes breaks down what each ingredient does and how to build the right blend.
Skip the old myth of adding gravel or pot shards to the bottom "for drainage" — research has shown it actually raises the waterlogged zone in the soil rather than lowering it. A pot with proper drainage holes and the right mix drains far better than one with a layer of rocks at the bottom.
Step by step
Set up a workspace first — lay down newspaper or work outside, and have your new pot, fresh soil, clean scissors, and a watering can within reach. Then:
- Water a day before. A hydrated root ball slides out cleanly and the plant handles the disturbance far better than a bone-dry, brittle one.
- Remove the plant gently. Tip the pot sideways, support the base of the stem between your fingers, and ease it out. If it is stuck, squeeze the sides of a plastic pot, or run a clean knife around the inside edge. Never yank the plant by its stem or leaves.
- Inspect the roots. Healthy roots are firm and white or tan. Dark, mushy, bad-smelling roots are dead — that is your cue to look closer at moisture problems.
- Loosen the root ball. Gently tease the outer roots apart with your fingers. If the roots are tightly coiled into the shape of the pot, free them so they grow outward instead of continuing to circle. For a stubborn, pot-bound mass, make two or three shallow vertical cuts down the sides with a clean knife — it sounds brutal, but it encourages fresh outward growth.
- Trim the dead and damaged roots. Snip off any brown, black, or mushy roots with clean, sharp scissors. Removing dead tissue prevents it from rotting against the healthy roots.
- Add a base layer of fresh soil to the new pot — enough that the plant will sit at the same depth it was before.
- Position the plant and backfill. Set the plant in the center and check the height: the top of the root ball should sit about an inch below the rim, at the same soil level as before. Fill fresh soil around the sides, pressing gently to remove large air pockets but not packing it down hard.
- Water thoroughly. Water until it runs out the drainage holes. This settles the soil around the roots and collapses any remaining air pockets. Top up with a little more soil if it sinks.
Keep a clean pair of scissors for this. Wiping the blade with rubbing alcohol between plants is a small habit that stops you from spreading disease through your collection.
Aftercare: the part everyone skips
The first two weeks decide whether your plant glides through or struggles.
- Bright, indirect light — no direct sun. A freshly disturbed root system cannot keep up with the water demand of strong light, so keep it out of harsh direct sun for a week or so. If you are not sure how much light counts as "indirect," my notes on reading your plant's light will help you place it.
- Water normally, do not drown. Resist the urge to overwater a stressed plant out of sympathy. The fresh, loose soil holds more moisture than the old root-packed soil did, so it dries more slowly. Check before you water, and when in doubt, wait — knowing the difference between overwatering and underwatering is the most useful skill you can build here.
- Hold off on fertilizer for 3 to 4 weeks. Fresh potting mix already contains nutrients, and tender new roots can be burned by feeding too soon.
- Expect a little sulking. A dropped leaf or two, or a brief droop, is completely normal in the first days. This is mild transplant shock, and most plants recover on their own. Keep conditions stable and resist the urge to "fix" it with more water or a new spot.
- Skip pruning for now. Let the plant put its energy into rooting before you ask it to heal cuts too.
If you want a full ritual for settling a plant into a new pot or a new home — including timing and humidity tricks — the guide to acclimating new plants covers it in depth.
Common mistakes (and how to avoid them)
| Mistake | What happens | Fix |
|---|---|---|
| Pot too large | Soil stays wet for days, roots rot | Go up only 1 to 2 inches |
| No drainage hole | Water pools, roots suffocate | Only use pots with holes |
| Burying the stem deeper | Stem rot at the soil line | Keep the same soil level as before |
| Repotting a sick plant to "help" | Adds stress without fixing the cause | Diagnose first, then repot if needed |
| Overwatering after repotting | Drowns the recovering roots | Water normally; check the soil first |
| Reusing old, compacted soil | Poor drainage and depleted nutrients | Use fresh, well-draining mix |
| Repotting in bloom or deep winter | Dropped buds, slow recovery | Wait for spring or post-bloom |
A note on that fourth mistake, because it is the one I made for years: repotting is not first aid. If a plant is yellowing, wilting, or dropping leaves, find out why before you disturb it. Repotting a plant that is sick from overwatering or a hidden pest only piles stress on top of the real problem. Treat the cause first; repot once it is on the mend.
Troubleshooting after repotting
If your plant looks unhappy a few days later, work through these in order:
- Drooping leaves, soil still moist: normal transplant shock. Keep it in stable, indirect light and do not add water. It should perk up within a week.
- Drooping leaves, soil dry: it needs a drink. Water thoroughly and it usually recovers within hours.
- Yellowing lower leaves over a week or two: often the plant shedding a few leaves it no longer needs. Watch new growth — if the tip is healthy, the plant is fine.
- Mushy stem at the soil line or a sour smell: likely overwatering or that the stem was buried too deep. Ease off water, and check the roots if it worsens.
- No recovery after three to four weeks, or a steady decline: something deeper is wrong. A struggling plant can still be turned around — my guide to reviving a dying plant walks through the rescue steps.
When you cannot tell whether your plant is just sulking or genuinely in trouble, do not guess. Snap a clear photo of the leaves and stem and run it through our AI diagnosis tool — it is exactly the kind of "is this normal or am I about to lose it?" moment it was built for, and it has saved a few of my own plants from a panicked, unnecessary second repotting.
Related articles
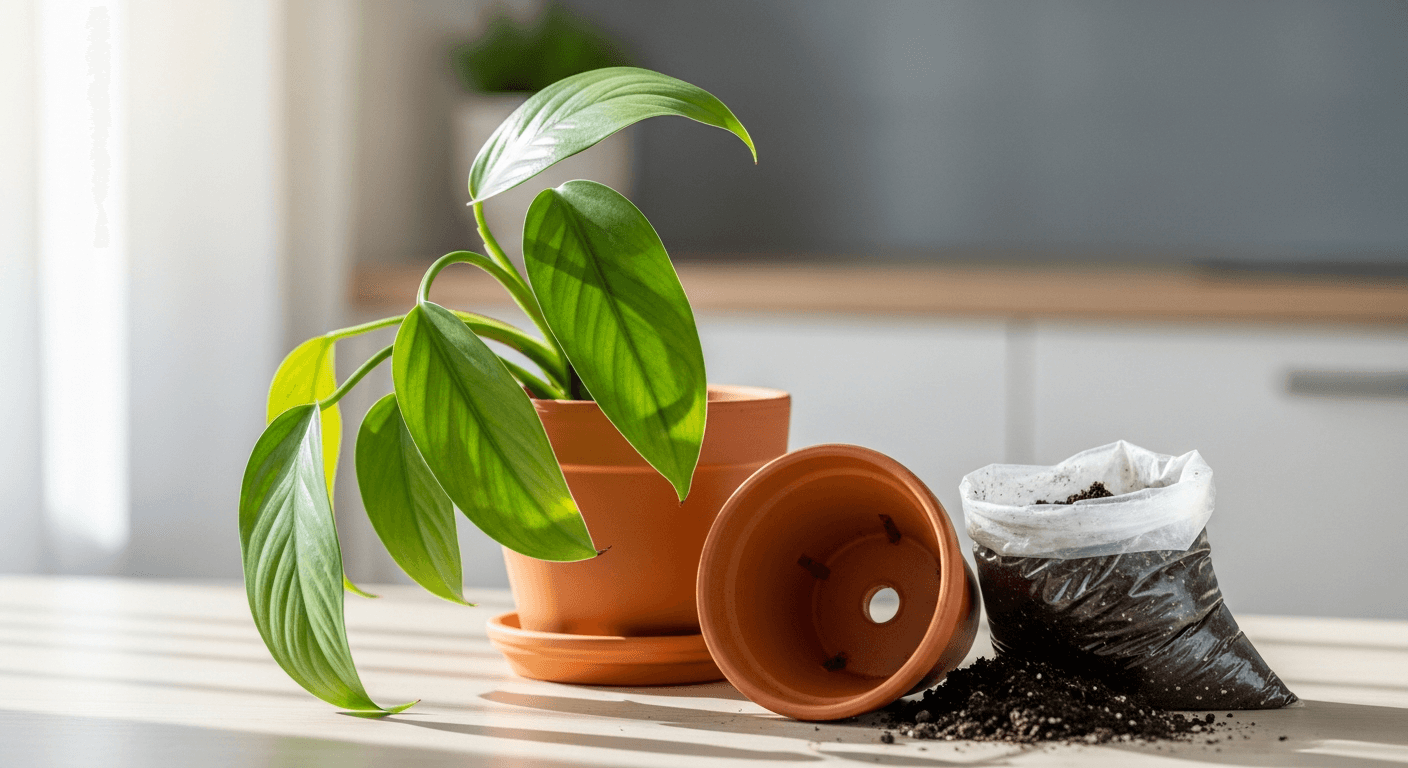
Transplant Shock: Why Your Plant Droops After Repotting
Your plant droops or drops leaves after repotting. Learn what transplant shock is, why it happens and how to help it recover with shade, water and patience.
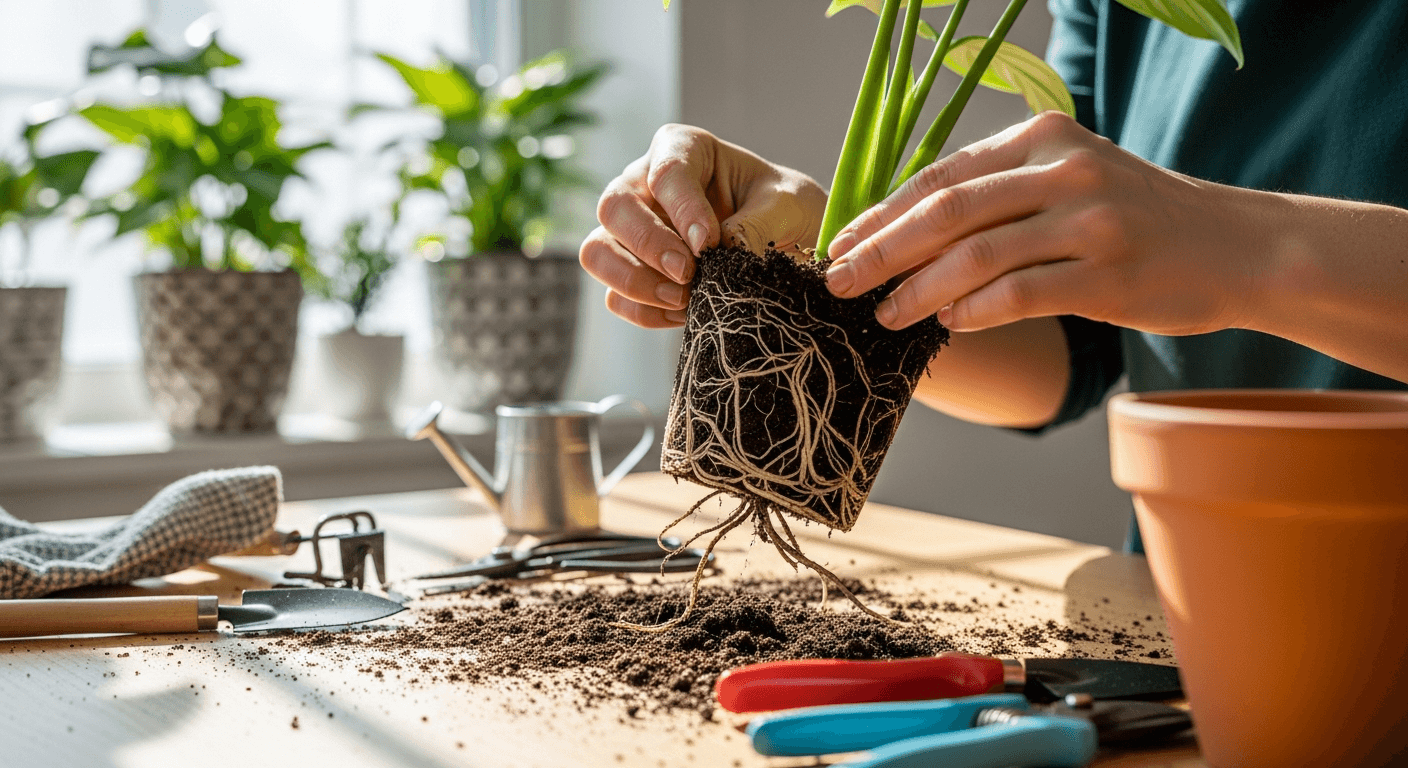
How to Revive a Dying Plant Step by Step
Your plant is dying and you don't know why. A guide to diagnosing and reviving a dying plant: watering, roots, light, pests and when it is simply too late.
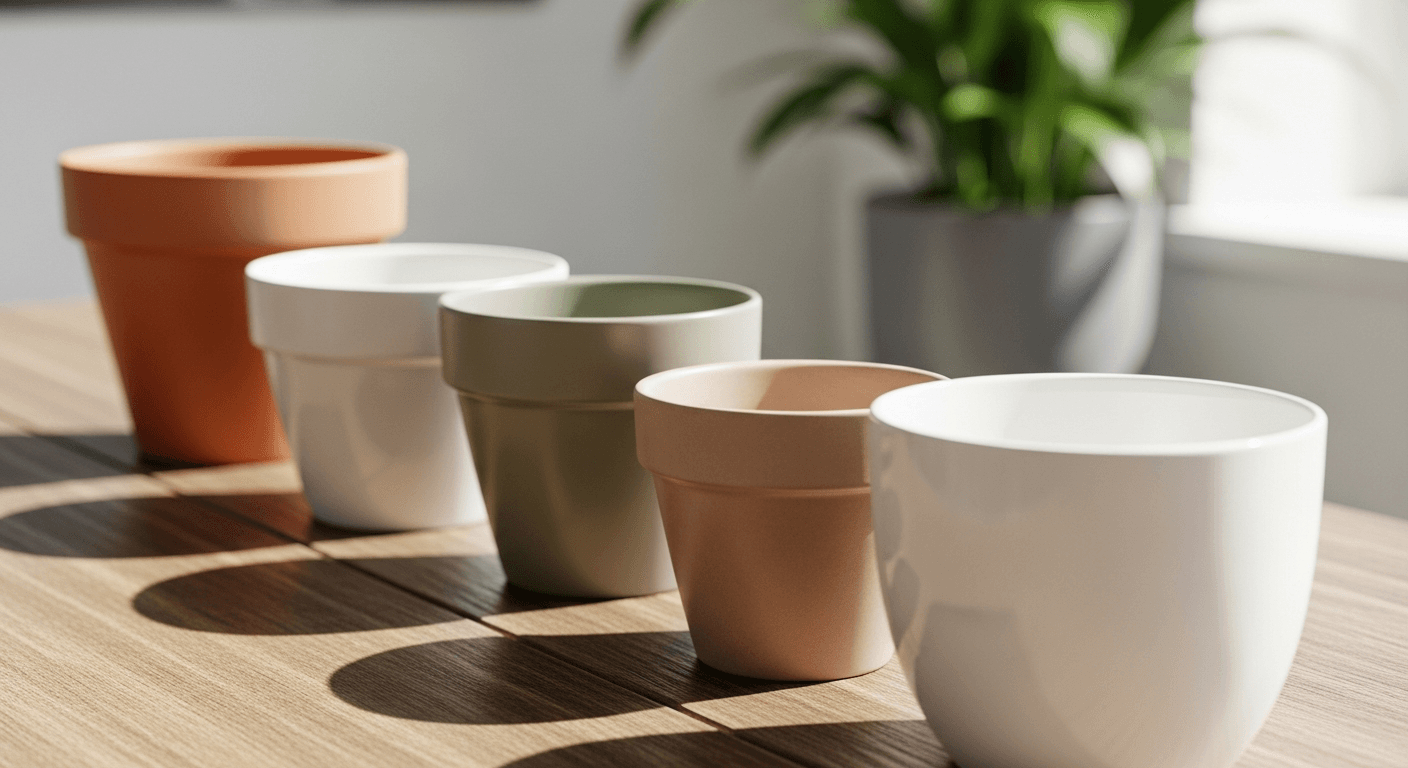
How to Choose the Right Pot for Your Plant
How to choose a pot: why drainage is essential, what size to use (not too big, not too small), and the pros and cons of terracotta, plastic, ceramic and fabric.
Trouble with your plant?
AI diagnosis